- May 17, 2014
- Raidah Idil
Cultivate Workshop: Soil Health (Part 1/5)
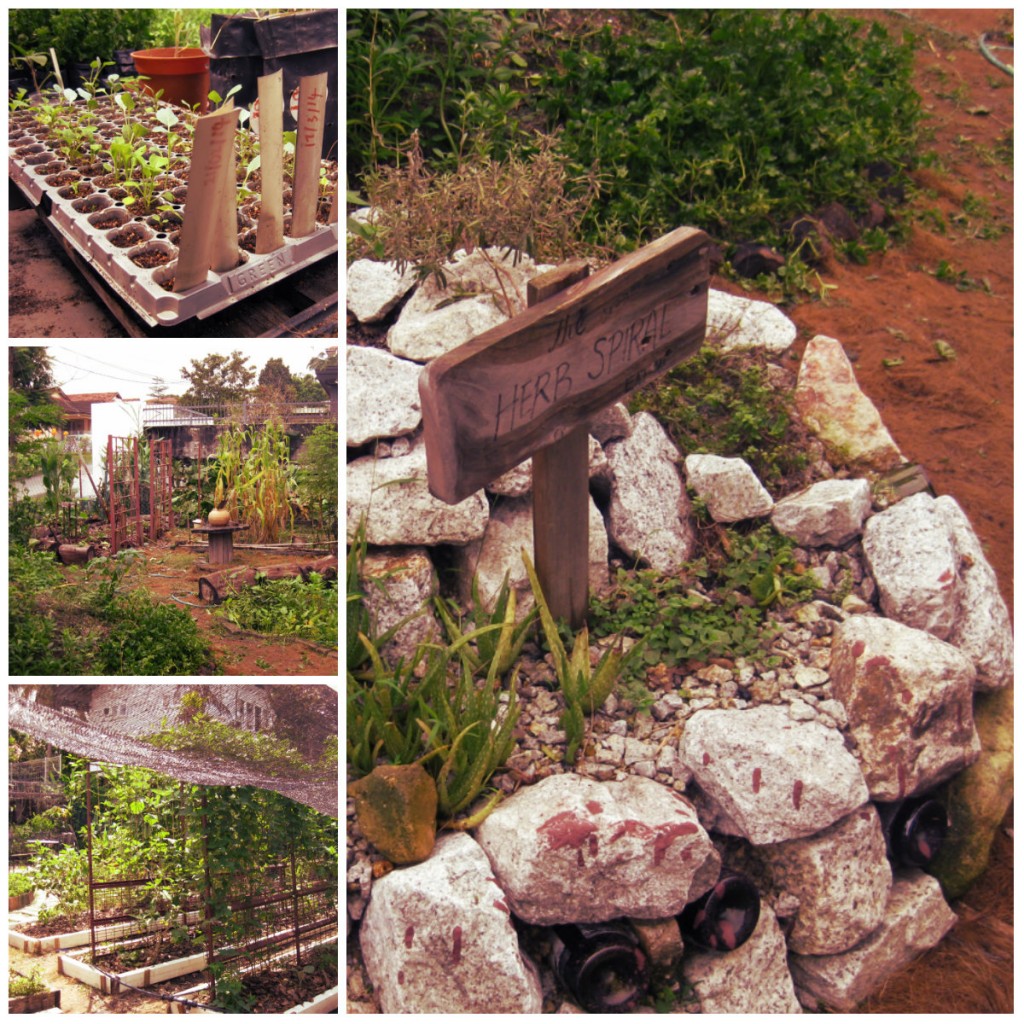
On the 10th of May, Cultivate Central and Eats, Shoots and Roots jointly organised a workshop “An Introduction to Edible Gardening and Composting”, conducted by international guest speaker, Dr Sultan Ismail with hands on demonstrations by Consumer Assocation of Penang (CAP) . Dr Ismail is a soil ecologist and biologist from Chennai, India, and he has been composting since 1978. A big thank you goes to the fantastic folks collaborating with us and for Eatsshootsandroots for hosting the session.
Dr Ismail’s approach was down-to-earth and educational. He emphasised that our goal, regardless of our different pathways, is non-chemical farming. He covered a lot of information during his talk, so this piece is the first in a 5-part series. Let’s start from the basics, and build our way up.
If there’s one take-home message from the talk, it’s this: Earthworms are the pulse of the soil. Intrigued? Read on!
Investigating your soil
- Look at the soil in your garden or pots. Touch it. Is it dry? Moist? Cakey? Dr Ismail suggested rubbing a bit of soil between your thumb and pointer finger and forming it into a ‘wick’. If it forms a wick an inch long, or longer, than your soil is very clayey. This is bad news. Water stagnates in clayey soil, and when the soil dries up, the roots break. If the soil wick breaks after an inch or so, this is good!
- When you dig into your soil, can you find any earthworms? If you do, hurrah! Earthworms are a wonderful indicator of soil health. Earthworms drill holes in soil, allowing air and water through. They also nourish the soil with their mucus, urine and feces. Their waste products are yummy food for soil microorganisms.
Prepping your container for gardening
Step 1: Get a container and drill some holes at the bottom to allow for drainage. This prevents the soil from becoming waterlogged, avoiding plant death by drowning!Step 2: Add stones at the bottom of the container.
Step 3: Add a layer of sand on top of the stones.
Step 4: Add soil/topsoil on top of the layer of sand.
Step 5: Add some compost. With these layers, your garden container mimicks the natural make-up of the earth.
Voila! Now your garden container is ready for seeds or seedlings.
New to Cultivate Central? Click here to read our manifesto
If you think this post will help your friends and family, please share it with them. Thank you for dropping by!

Raidah Idil
I am a freelance writer, editor, poet, student counsellor and a Permaculture Design Consultant. I am new to Permaculture and look forward to sharing my experiences about growing food in the city.
Features
From Community Farming to Community Research
Enter the Goodman Community Farm — a community space for ageing well.Since 2019, Cultivate Central and the Goodman Arts Centre have nurtured...
Cultivating Change EP #12: Discovering Regenerative Farming with the Orang Asli in Malaysia
What does it take to rebuild livelihoods, restore soil, and shift mindsets? EP #12: Discovering Regenerative Farming with the Orang As...